


On this short tutorial you will learn in 8 Steps the step-by-step process for applying eyelash extensions provided by DF Lashes which is specialized in Eyelash Extensions.
Are you working on the Eyelash Extensions business?
We do recommend our professional lash extension
1ST STEP – APPLY EYE PATCHES
When applying below eye the eye patches, you should avoid inserting the sticker too close to the eye. The sticker ought to be positioned over the lower natural lashes, about 3-4 millimeters from the lower lash line. Check lids from under to make certain upper and reduce lids type a seal without any gaps.
2ND STEP – SELECT THE INDIVIDUAL LASH EXTENSIONS
If you are using Cashmere lashes or Mink Lashes always use at least 3 different lengths of lash extensions that range between 8 mm to 14 mm in length.
It is advisable to use eight millimeters (mm) lash extensions within the internal corners from the eye to prevent avoid a man-made clownlike look, It’s also crucial that you use between 8 mm to 14 mm lash extensions all through the eye, among the for a longer time extensions to produce a thick lash line.
Failure to combine in brief extensions benefits in empty gaps which make the prolonged extensions seem similar to spider legs. To get a natural look, opt for 0.15 mm in thickness and B or C curly lash extensions. Finer extensions develop a more natural look.
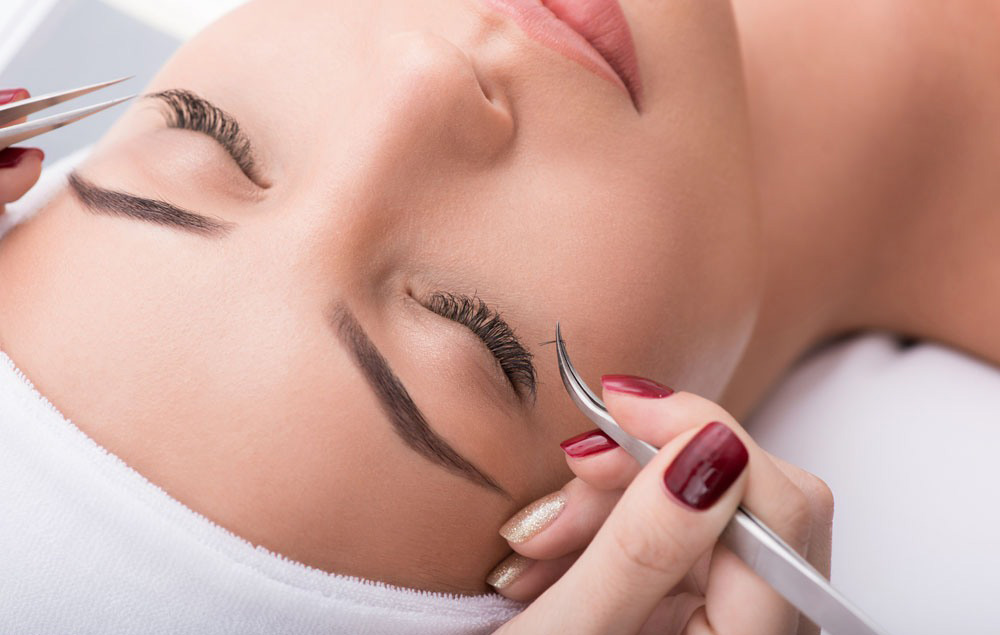
3RD STEP – PICK-UP THE INDIVIDUAL LASHES
Spread lashes out in your vinyl pad suitable for quick choose up of the extensions. Orient extension effectively in the tweezers.The extension should be oriented at a 90° angle to the straight tweezer for rapid, correct application.
4TH STEP – DIP LASH ON GLUE
Whilst holding the extension from its tapered end, dip the extension in to the adhesive, we recommend using Adhesive for longer lasting eyelash extensions, this will keep happy clients; ensure there is ample adhesive with the base of the extension. Swipe off any excess of glue prior to applying the lashes.
5TH STEP – ISOLATE AND SWIPE
Isolate the natural lashes using the DF tweezers. Whilst keeping the extension from its tapered finish, swipe the extension together the natural lash. Coat the natural eyelash with adhesive from base to tip without gaps in the glue. Spread the lash adhesive until smooth.
6TH STEP – SET THE EYELASH APPLICATION
After swiping the normal lash with just enough glue to coat it, set the extension on the natural lash about 1 mm from the eyelid, release the individual lash extension on to the normal lash.
The lash ought to be facing upwards and parallel to the other lashes with no any beads of glue. Do not touch the extension after been applied. Move on to another region or the reverse eye and repeatedly implement extensions until finally It gets to be difficult to isolate more organic lashes.
7TH STEP – SEPARATE THE LASHES
No two lash extensions or normal lashes should stick with each other. Use the two sets of lash tweezers to separate any extensions that may be stuck together. Grasp and separate in the horizontal method; very best done even though when the adhesive is dry, although not totally cured.
Never pull in the vertical route or area any rigidity on natural lashes.
Repeat the application and separation steps till each and every natural lash is bonded to the individual lash.
8TH STEP – DRY THE EYELASH GLUE
When all applyed lash extensions are securely bonded, it is time to dry the newly adorned lashes between 3 to 5 minutes. Mist with distilled water, dry again for 3 minutes and carry out a single last round of separation.


